How to Avoid Vinyl Siding Drainage Issues: A Technical Water Management Guide
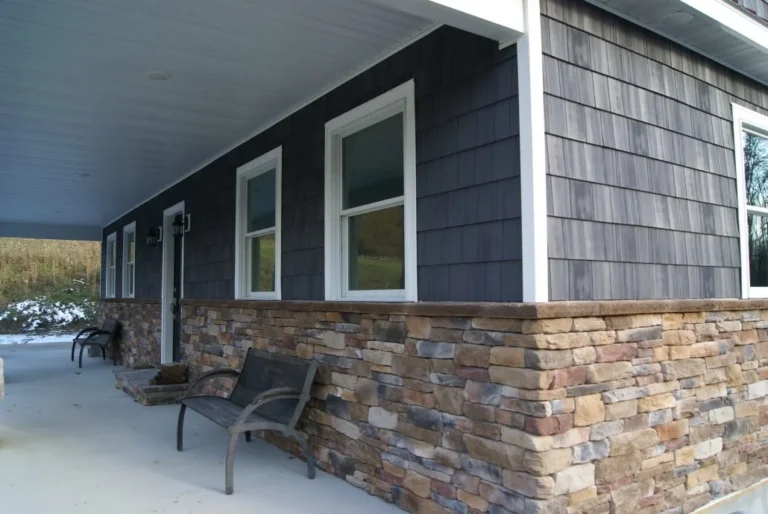
How to avoid vinyl siding drainage issues. Vinyl siding is often erroneously classified as a waterproof barrier. In reality, it is a watershed system, a sophisticated “rainscreen” that serves as the primary line of defense but is designed with the explicit assumption that water will penetrate its outer layer. The structural integrity of a home depends not on the siding’s ability to repel every drop of rain, but on the efficiency with which the system manages the moisture that inevitably finds its way behind the panels. When drainage mechanisms fail, the result is a slow-motion catastrophe of rot, mold, and structural degradation that remains hidden until the damage is systemic.
The complexity of these systems is compounded by the interplay of surface tension, capillary action, and hydrostatic pressure. Water does not always follow the simple path of gravity; it creeps behind window casings, wicks upward through porous sheathing, and clings to the undersides of horizontal laps. Addressing these challenges requires more than just a cursory application of caulk. It demands a rigorous understanding of the building envelope as an integrated unit where the siding, the house wrap, and the flashing work in a calibrated sequence.
This analysis provides a definitive technical framework for ensuring the longevity of the building envelope. By deconstructing the mechanics of hydrostatic pressure and the systemic failures of improper installation, we can establish a comprehensive methodology for moisture control. To master this discipline is to move beyond mere aesthetics and into the realm of high-performance building science.
Understanding “how to avoid vinyl siding drainage issues.”
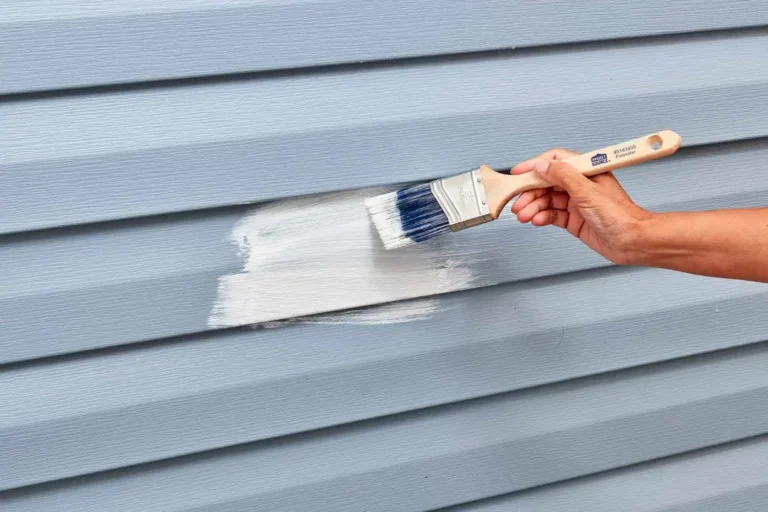
The primary hurdle in learning how to avoid vinyl siding drainage issues is overcoming the “sealant fallacy.” Many installers and homeowners believe that the tighter a system is sealed, the drier it will remain. However, vinyl siding is engineered to be a “leaky” system by design. It requires intentional gaps, specifically weep holes and loose-fitting laps, to allow for pressure equalization and drainage. If these exit points are obstructed by debris, paint, or improper flashing, the trapped moisture creates a micro-greenhouse effect behind the panel, accelerating the decay of the OSB or plywood sheathing.
A multi-perspective explanation of drainage must account for the “Water Resistive Barrier” (WRB). The siding is merely the decorative shield; the WRB is the true protector. When we discuss drainage issues, we are often actually discussing the failure of the WRB to properly overlap or “shingle” with the window flashing and the starter strip. If the WRB is tucked behind a flashing element instead of over it, gravity will direct water directly into the wall cavity.
Oversimplification risks here are significant. It is easy to point to a clogged weep hole as a failure, but the root cause may be the lack of a drainage plane, a small gap between the siding and the house wrap that allows water to flow unimpeded. Without this space, surface tension can hold water against the wrap, eventually finding a way through staple penetrations or unsealed seams. Professional management involves treating the entire assembly as a fluid-dynamics problem rather than a static puzzle.
Deep Contextual Background: The Evolution of the Envelope
The transition from wood clapboards to vinyl siding in the mid-20th century fundamentally altered how buildings “breathe.” Wood is hygroscopic; it absorbs and releases moisture. Vinyl, being non-porous PVC, acts as a vapor retarder. In the early decades of vinyl adoption, the industry did not fully account for how vapor would escape once it was trapped behind the plastic skin. This led to “stewing” in wall cavities, particularly in humid climates.
By the 1990s, the development of sophisticated house wraps and integrated rainscreen systems began to modernize the approach. We moved from a “barrier” mentality (trying to keep water out) to a “management” mentality (accepting water’s presence and directing it safely away). Contemporary building codes now reflect this, but the legacy of poor installation habits remains. The current challenge is the integration of vinyl siding with ultra-efficient, airtight homes, where the lack of natural air leakage means that even minor drainage failures can result in massive mold outbreaks because the wall can no longer dry to the inside.
Conceptual Frameworks and Mental Models
-
The Shingle Effect: This is the most basic yet most violated rule. Every layer of the building envelope, from the top ridge vent down to the foundation, must overlap the layer below it. Think of it as a series of waterfalls; at no point should a lower layer be tucked under an upper layer, as this creates a “catchment” for moisture.
-
Hydrostatic Pressure Equalization: Wind hitting a wall creates high pressure on the outside. If the cavity behind the siding has lower pressure, water will be “sucked” into the cracks. By allowing air to move freely behind the panels through weep holes and vented soffits, the pressure equalizes, significantly reducing the amount of water forced into the system.
-
The 3-D Drainage Plane: Visualize the space behind the siding not as a flat surface, but as a three-dimensional channel. Effective drainage requires that this channel remain unobstructed by over-driven fasteners, excessive insulation bulging, or “nesting” of siding panels.
Key Categories and Technical Trade-offs
| Category | Component Role | Failure Mode | Trade-off |
| Weep Holes | Bottom-edge exit points | Clogging or blockage by trim | More drainage vs. potential insect entry |
| WRB (House Wrap) | Secondary moisture barrier | Reverse-lapping or tears | Breathability vs. water resistance |
| Starter Strip | Initial course alignment | Trapping water against the sill | Alignment precision vs. drainage clearance |
| Window Flashing | Interface management | Improper “head” flashing | Visual seamlessness vs. water diversion |
| Drip Edges | Kick-out mechanism | Missing or too short | Cost vs. foundation protection |
Decision Logic: Drainage vs. Aesthetics
Installers often face the dilemma of “tight” joints for a cleaner look versus the “loose” joints required for drainage. The correct decision is always to prioritize the gap. A 1/4-inch gap at a J-channel may look less “perfect” to the untrained eye, but it is the only way to ensure that water can bypass the trim and reach the drainage plane.
Detailed Real-World Scenarios
Scenario 1: The “Caulked-Shut” Weep Hole
A meticulous painter decides to seal the small holes at the bottom of the vinyl panels to “protect” the home from bugs. Following a heavy rainstorm, the homeowner notices water stains on the interior drywall near the floor.
-
Failure: The siding was unable to purge the water that entered through the top laps.
-
Second-Order Effect: The trapped water elevated the humidity in the wall cavity, causing the fiberglass insulation to sag and lose its R-value.
Scenario 2: Missing Kick-out Flashing
Where a roofline meets a vertical siding wall, the water cascades down the roof and enters the siding at the termination point. Without a “kick-out” flashing to redirect that water into the gutter, the volume of water overwhelms the house wrap.
-
Management: Retrofitting a pre-formed kick-out flashing is the only way to avoid vinyl siding drainage issues in this specific, high-risk zone.
Planning, Cost, and Resource Dynamics
The “cost” of avoiding drainage issues is primarily a labor investment in the “hidden” parts of the wall.
| Resource/Action | Direct Cost | Opportunity Cost of Failure | Effectiveness |
| Premium WRB/Tape | $0.80 – $1.50/sq ft | $20,000+ (Mold remediation) | High |
| Rigid Rain Screen Mat | $1.00 – $2.50/sq ft | Full siding/sheathing replacement | Maximum |
| Integrated Head Flashing | $15 – $30 per window | Window frame rot | Critical |
| Proper Slope Grading | $500 – $2,500 | Foundation seepage | High |
Tools, Strategies, and Support Systems
-
Self-Adhering Flashing (SAF): High-performance “peel-and-stick” membranes that create an airtight and watertight seal around penetrations.
-
Corrugated House Wraps: These provide built-in “bumps” or grooves that create a 1mm to 3mm drainage space automatically.
-
Bore-Sighting/Endoscopy: Using small cameras to inspect the drainage plane behind existing siding without removal.
-
Z-Flashing: Specialized metal trim used over windows and horizontal transitions to “kick” water away from the wall.
-
Vented Starter Strips: Unlike solid metal strips, these allow water to exit the bottom of the wall across its entire length.
-
Pressure-Equalized Rainscreens (PER): A system-level strategy using compartmentalized air spaces to prevent wind-driven rain penetration.
The Risk Landscape: Compounding Failures
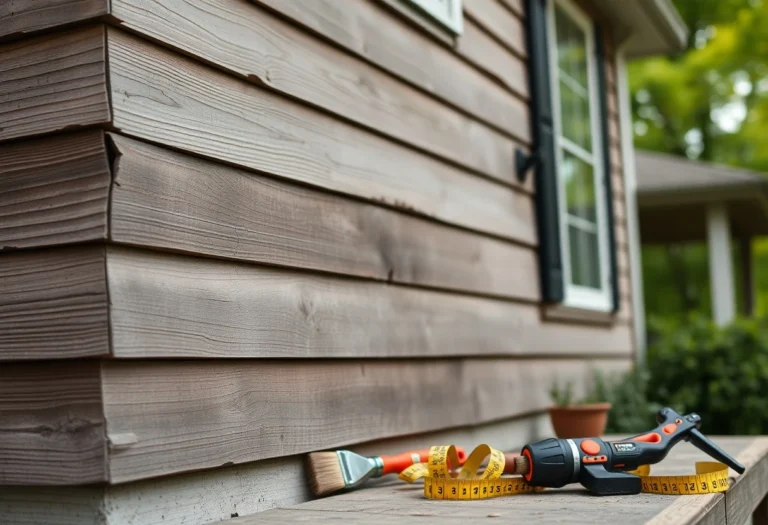
Drainage issues are rarely isolated. They typically compound with thermal expansion problems. If siding is nailed too tightly (preventing movement), the panels can buckle, creating “pockets” where water collects. This stagnant water then freezes in winter (ice damming behind the siding), which expands and further pulls the siding away from its fasteners. This cycle of “buckle-collect-freeze-tear” is the most common path to total system failure in northern climates.
Governance, Maintenance, and Long-Term Adaptation
Effective water management requires a “governance” mindset and regularly scheduled audits of the building’s exterior.
-
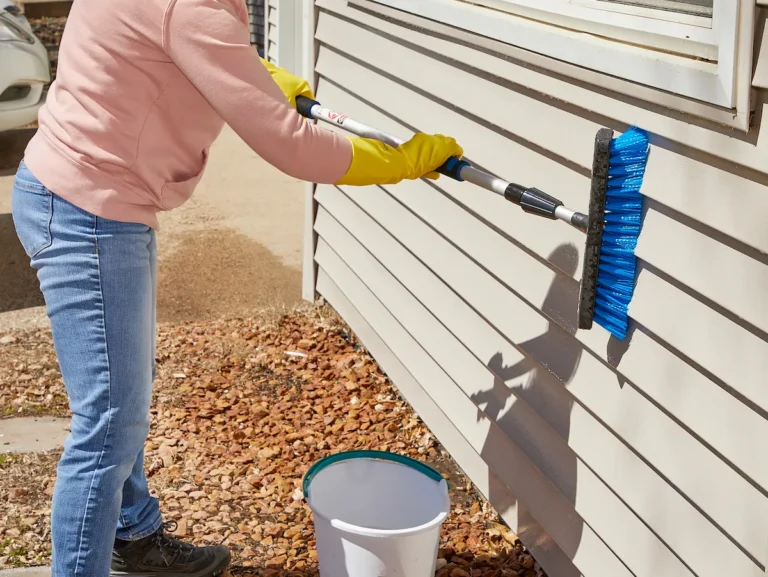
Annual Weep Hole Inspection: Use a small wire or compressed air to ensure the bottom-edge holes are clear of spider webs, dirt, or paint.
-
Post-Storm Audit: After heavy wind-driven rain, check the “J-channels” for any standing water or signs of silt buildup.
-
Adjustment Triggers: If you see “bleeding” (rusty or dark streaks) coming from the bottom of a lap, it indicates that the fasteners behind the panel are corroding, which is a leading indicator of a drainage failure.
Measurement, Tracking, and Evaluation
-
Quantitative Signal (Moisture Metering): Using a non-invasive moisture meter on the interior side of the exterior walls after a storm. Any reading above 15-18% suggests a breach in the drainage system.
-
Leading Indicator (Fastener Integrity): Checking the “pull” of a panel. If the panel feels “soft” or doesn’t snap back into place, the sheathing behind it may be saturated.
-
Documentation: Maintaining a photo log of the flashing details before the siding is installed. This is the only way to verify that “the shingle effect” was achieved.
Common Misconceptions and Technical Corrections
-
Myth 1: “Caulking the bottom of siding makes it waterproof.” Correction: It does the opposite; it turns the siding into a bathtub, trapping water inside.
-
Myth 2: “House wrap is all you need.” Correction: House wrap is a backup; if the flashing is wrong, the wrap will eventually fail at the staple points.
-
Myth 3: “Siding shouldn’t have gaps.” Correction: Gaps are the “lungs” of the system. Vinyl needs at least 1/4 inch of space at all termination points.
-
Myth 4: “Weep holes are only for heavy rain.” Correction: They are also for vapor. They allow the cavity to “dry out” via air convection even on humid days.
-
Myth 5: “Tape is better than flashing.” Correction: Tape is a sealant; flashing is a structural water-diverter. Tape should supplement flashing, never replace it.
Synthesis and Editorial Judgment
The mastery of how to avoid vinyl siding drainage issues is found in the humble acceptance of water’s persistence. Gravity and wind will eventually win any battle against a “sealed” barrier. Therefore, the highest level of building craft is found in the creation of paths for water to exit.
A truly resilient home is one where the siding serves its purpose as a beautiful, durable facade, while the invisible layers beneath perform the rigorous work of fluid management. By focusing on the “shingle effect,” maintaining a clear drainage plane, and ensuring that weep holes remain unobstructed, we protect the most expensive and vital components of the home: the framing and the interior environment. In the end, the best siding job is the one that stays dry by letting the water through.