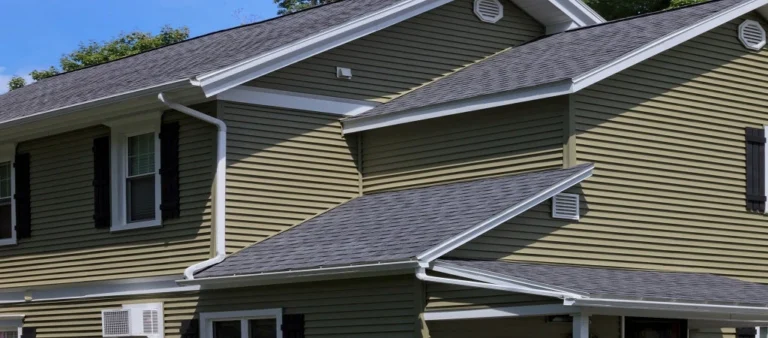
How to Avoid Vinyl Siding Buckling: The Definitive Installation Guide
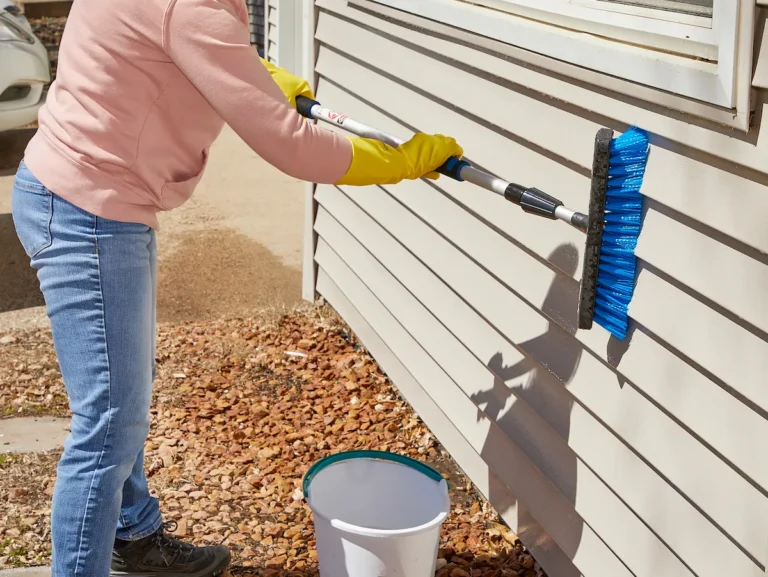
How to avoid vinyl siding buckling While vinyl siding remains the most popular residential cladding material in North America due to its cost-efficiency and low maintenance, its physical vulnerability to thermal expansion creates a significant engineering challenge for installers. Unlike brick, stone, or fiber cement, polyvinyl chloride (PVC) is a dynamic material. It moves. In a climate with a 100-degree temperature swing, a 12-foot panel can expand or contract by as much as 3/4 of an inch. When this movement is restricted, the internal stress manifests as “oil canning,” warping, or buckling, a structural failure that is almost always rooted in installation error rather than material defect.
Achieving a flawless finish requires a shift in perspective: one must view the siding not as a static shield nailed to a wall, but as a floating curtain. The complexity of avoiding buckling lies in the interaction between fastener torque, substrate flatness, and environmental variables. Even a single nail driven too tightly can compromise an entire elevation, creating a ripple effect that distorts neighboring panels.
The following analysis dissects the physics of PVC cladding and the meticulous installation protocols required to maintain aesthetic integrity over decades. This guide serves as a technical roadmap for navigating the narrow tolerances of vinyl application, ensuring that the finished product can breathe through seasonal cycles without losing its form.
How to avoid vinyl siding buckling
The phrase “how to avoid vinyl siding buckling” is often reduced to the simple advice of “don’t nail it too tight.” While accurate, this oversimplification ignores the systemic nature of siding failure. True prevention requires a multi-perspective understanding of how heat, gravity, and mechanical resistance interact.
Buckling is essentially a localized structural collapse of the panel’s profile. Because the vinyl cannot move outward or inward easily due to its shape, it bows away from the wall when expansion is restricted at the ends or at the fastener points. Misunderstandings often arise when contractors assume that a “loose” installation will lead to rattling or blow-offs during wind events. In reality, the locking mechanism of the panels is designed to provide wind resistance, while the nail hem is designed solely for suspension.
Another risk of oversimplification is the failure to account for substrate irregularities. A wall that is not “in plane,” meaning it has bows or dips in the studs or sheathing, will force the siding into a contoured shape. When that contoured panel tries to expand, the “humps” in the wall act as pivot points, exacerbating the buckling effect. Therefore, avoiding distortion is as much about wall preparation as it is about the siding itself.
Deep Contextual Background: The Evolution of PVC Cladding
Vinyl siding was introduced in the late 1950s as a replacement for aluminum, which was prone to denting and corrosion. Early iterations suffered from significant brittleness and color fading, but the primary engineering hurdle was always thermal movement.
In the 1970s and 80s, the industry moved toward “co-extrusion,” a process that layers two types of plastic: the “capstock” for UV protection and the “substrate” for structural integrity. As chemistry improved, panels became longer and darker. Darker colors absorb more thermal energy, leading to higher surface temperatures and more aggressive expansion. This evolution forced a refinement in installation standards. The transition from “guessing” the gap to standardized 1/4-inch or 3/8-inch clearances at all junctions became the hallmark of professional tradecraft.
Modern siding systems are engineered with “weep holes” for drainage and “roll-over” nail hems for increased wind load resistance. However, the fundamental physics remains: PVC has a high coefficient of linear thermal expansion. If the installation methods do not evolve alongside the material’s aesthetic improvements, the risk of buckling remains a constant threat to the building envelope’s longevity.
Conceptual Frameworks and Mental Models

To master the installation process, professionals should utilize specific mental models that prioritize the movement of the material over its static appearance.
1. The Floating Curtain Model
View the siding as a series of interlocking plates suspended from the wall, rather than a skin bonded to it. If any point of contact (nail, J-channel, or utility light block) pinches the plate, the “curtain” cannot hang straight. Every fastener must be an anchor point that allows horizontal sliding.
2. The Piston Effect
Think of each panel as a piston inside a cylinder. The J-channels and corner posts are the limits of the cylinder. If the piston (the sliding) is too long for the cylinder, it will crash into the ends and bend. This model helps in calculating “gap math” based on the ambient temperature during installation.
3. The Substrate Mirroring Principle
Understand that vinyl is a flexible material that will eventually mirror the imperfections of the surface beneath it. If the OSB (Oriented Strand Board) or plywood sheathing is buckled from moisture, the vinyl will eventually follow that shape, leading to “false buckling” that looks like thermal distortion but is actually a reflection of the house’s skeletal issues.
Key Categories of Vinyl Profiles and Trade-offs
The choice of siding profile significantly impacts the strategies used to avoid vinyl siding buckling. Different shapes handle stress in different ways.
| Profile Type | Rigidity Level | Thermal Sensitivity | Movement Allowance | Best Use Case |
| Traditional Lap | Medium | High | High | Standard residential; most forgiving. |
| Dutch Lap | High | Medium | Moderate | High-wind areas; provides more shadow line. |
| Vertical Board & Batten | Low | Very High | Vertical Only | Accents; requires specialized flashing. |
| Insulated Siding | Very High | Low | Limited | Energy efficiency: foam backing resists bowing. |
| Shake/Shingle | High | Low | Interlocking | Aesthetics: More joints mean less cumulative movement. |
Decision Logic for Profile Selection
When selecting a profile, consider the “uninterrupted run” length. On a wall spanning 40 feet without windows, traditional lap siding will require several overlaps. Each overlap is a potential friction point. For long, unbroken expanses, thicker (.044″ to .048″ gauge) panels or insulated siding are preferable because their inherent rigidity helps bridge minor substrate imperfections and resist the “memory” of a buckle.
Detailed Real-World Scenarios
Scenario 1: The High-Summer Install
An installer puts up dark gray siding on a 95°F day.
-
Constraint: The panels are already at maximum expansion.
-
Decision Point: How much gap should be left in the J-channel?
-
Failure Mode: Leaving a 1/4-inch gap. In winter, the panel will shrink significantly, potentially pulling out of the J-channel entirely.
-
Corrective Action: On hot days, the siding should be cut to fit nearly flush to the stop, as it will only move away from the junction when it cools.
Scenario 2: The Out-of-Plumb Corner
A renovation project involves an older home with a settling foundation. The corner of the house has a slight “bulge” at the second-floor rim joist.
-
Constraint: The substrate is uneven.
-
Failure Mode: Driving nails tight to “pull the siding in” to hide the bulge.
-
Second-order Effect: This creates a fixed point of tension. When the sun hits that wall, the panel cannot slide, and a massive buckle appears three feet away from the tight nail.
-
Corrective Action: Shimming the wall or using furring strips to create a flat plane before hanging the starter strip.
Planning, Cost, and Resource Dynamics
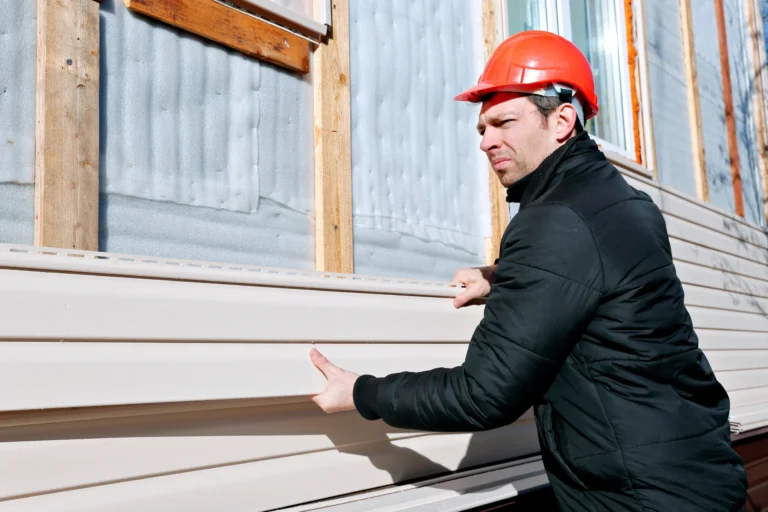
The financial implications of buckling extend far beyond the cost of a few replacement panels. Because vinyl siding is installed from the bottom up, a buckle in a middle course often requires the removal of all panels above it to reach the affected area.
| Cost Component | Range (Standard) | Range (Premium) | Opportunity Cost of Failure |
| Material (per sq) | $100 – $180 | $200 – $350 | High (re-ordering matching batches) |
| Labor (per sq) | $150 – $300 | $300 – $500 | Extreme (tear-down labor > install labor) |
| Fasteners/Trim | $20 – $40 | $50 – $80 | Low |
| Waste Factor | 5% – 10% | 12% – 15% | Moderate |
Labor is the primary variable. Investing in an experienced crew that understands the nuances of how to avoid vinyl siding buckling results in a 20-30% higher upfront cost but eliminates the 100% cost of a full-wall replacement two years later.
Tools, Strategies, and Support Systems
-
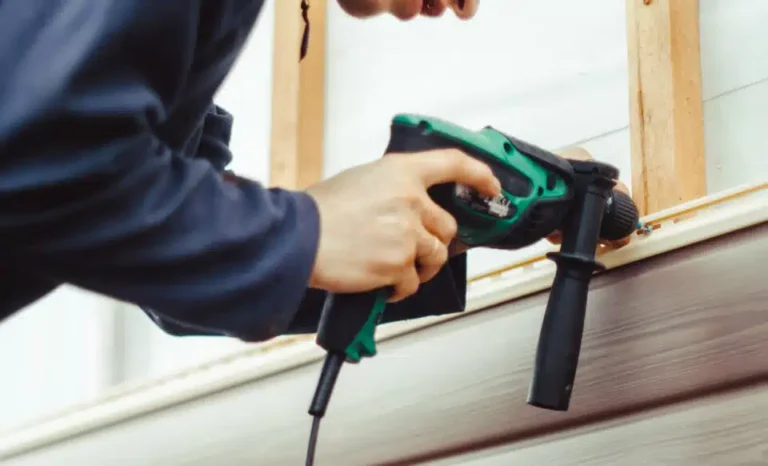
Nail Hem Slots: Always center the nail in the factory-punched slot. This allows the panel to move both left and right.
-
The “Nickel” Rule: Leave a space between the nail head and the vinyl roughly the thickness of a nickel (1/32 to 1/16 of an inch).
-
Power Nailers with Vinyl Adapters: If using pneumatic tools, ensure they have a depth-of-drive adjustment that prevents the nail from seating against the hem.
-
Snap-Lock Punches: For the top course, use a snap-lock punch to create “ears” that sit in the utility trim, allowing vertical movement without permanent fasteners.
-
Corrosion-Resistant Fasteners: Use galvanized or aluminum nails with at least a 5/16-inch head. A small head can pull through the slot during expansion.
-
Laser Levels: Ensuring the starter strip is perfectly level prevents “stair-stepping,” which creates uneven tension across the wall.
Risk Landscape and Failure Modes how to avoid vinyl siding buckling
The “Buckling Taxonomy” can be categorized by the primary catalyst of the failure:
-
Mechanical Pinning: The most common cause. A nail driven too tightly or through the vinyl itself (not the slot) pins the panel.
-
Terminal Clearance Failure: Cutting the panel too long so that it butts against the inside of a corner post or J-channel. When it expands, it has nowhere to go but out.
-
Frictional Locking: Caulking the ends of the siding panels where they meet the trim. Caulk acts as an adhesive, preventing the “floating” movement.
-
Heat Distortion (Melting): Not technically buckling, but often confused with it. This occurs when concentrated sunlight reflects off Low-E windows of a neighboring house, exceeding the PVC’s 160°F – 165°F heat deflection temperature.
Governance, Maintenance, and Long-Term Adaptation
A proactive approach to siding longevity involves a structured inspection cycle. Homeowners should not wait for a buckle to appear to evaluate the system.
Post-Installation Checklist
-
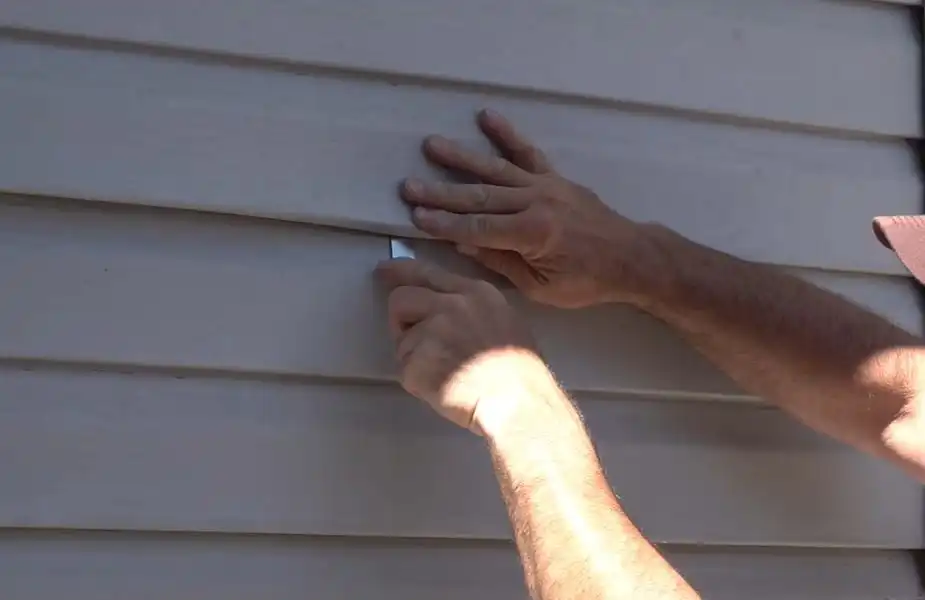
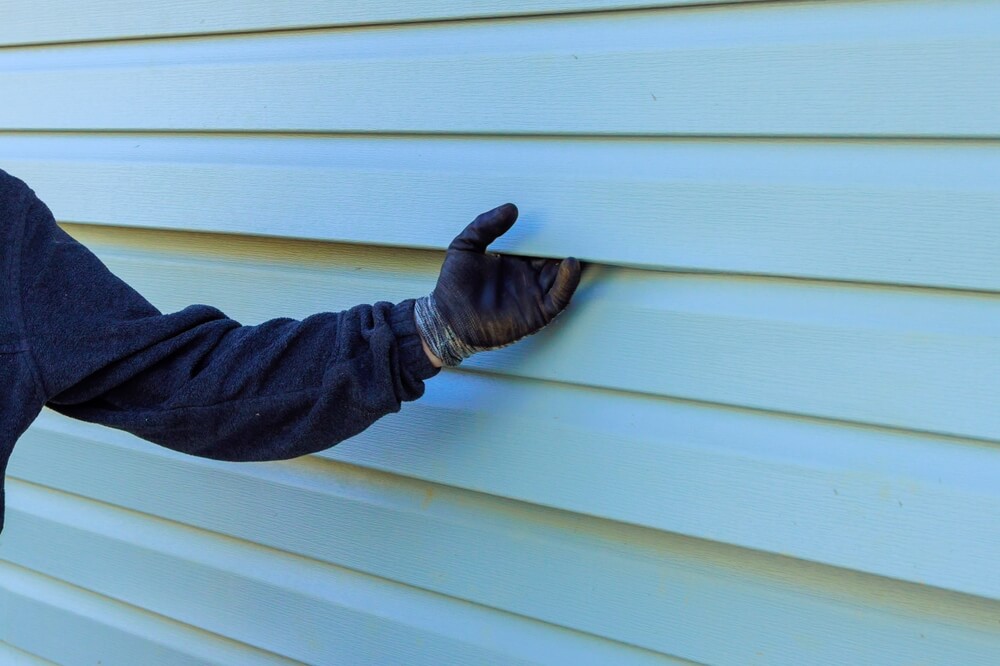
Manual Slide Test: Can you slide each panel horizontally 1/2 inch with your hand? If not, it is pinned.
-
Overlap Verification: Are panels overlapped by approximately 1 to 1.25 inches?
-
Fastener Alignment: Are nails centered in the slots and driven straight? (Crooked nails pull the hem toward the wall).
Seasonal Monitoring
Review the siding during the transition from spring to summer. This is when the most drastic expansion occurs. Look for “waves” in the panels when the sun hits the wall directly.
Measurement, Tracking, and Evaluation
How do you quantify a successful installation? The metrics are often qualitative until a failure occurs.
-
The Drag Test (Leading Indicator): During installation, every third course should be “stress-tested” by sliding a panel. If it resists, the previous course’s fasteners must be checked.
-
Gap Consistency (Quantitative): Use a feeler gauge or a marked shim to ensure consistent 1/4-inch gaps at all receivers (J-channel, corners) at 70°F.
-
Thermal Imaging (Diagnostic): In cases of mysterious buckling, thermal cameras can identify “hot spots” where heat is being trapped behind the panel due to poor ventilation or reflective sources.
Common Misconceptions and Oversimplifications
-
Myth 1: “Tighter is better for wind.” Fact: The lock provides the wind resistance; the nails just hold it up. Over-tightening actually makes the panel more likely to blow off because it can’t flex with wind pressure.
-
Myth 2: “Vinyl is maintenance-free.” Fact: While it doesn’t need paint, the “system” needs to be kept clear of debris in the J-channels that could block movement.
-
Myth 3: “Buckling is a product defect.” Fact: Over 95% of buckling claims are denied by manufacturers because they are t,raceable to installation errors.
-
Myth 4: “You can’t install vinyl in winter.” Fact: You can, but you must increase the gap to 3/8-inch because the panel is at its smallest state.
-
Myth 5: “Caulking the J-channel stops leaks.” Fact: Caulking the J-channel where the siding enters is a primary cause of buckling and can actually trap water behind the siding.
Conclusion
Mastering the art of avoiding vinyl siding buckling is a study in thermal dynamics and mechanical discipline. It requires the installer to resist the instinct to secure the material firmly, instead opting for a calculated, “loose” suspension. By adhering to the principles of centered fastening, proper terminal clearances, and substrate preparation, one can ensure that the cladding remains a durable, aesthetic asset. The goal is a system that exists in harmony with its environment a structure that can move, breathe, and adapt to the sun without sacrificing its form.