Common Vinyl Siding Trim Mistakes: A Technical Editorial Guide
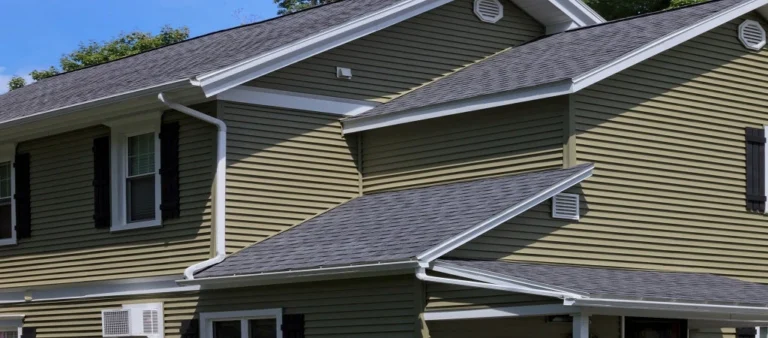
Common vinyl siding trim mistakes. The aesthetic and functional success of a residential building envelope is rarely determined by the expansive flat surfaces of the siding panels themselves. Instead, the true measure of craftsmanship resides in the margins, the corners, the window surrounds, and the transitions between disparate materials. Vinyl siding, a material defined by its significant coefficient of thermal expansion, requires a sophisticated understanding of movement that many installers fail to master. When the trim of the “jewelry” of the home is misapplied, the result is not merely a visual disappointment; it is a structural liability that invites moisture infiltration and premature material fatigue.
Identifying the nuances of these installations requires moving beyond the basic manufacturer instructions. A high-quality exterior system is a series of interlocking components that must act as a rainscreen, a thermal barrier, and a decorative finish simultaneously. The complexity arises because vinyl trim is not static. It must be allowed to float, to slide, and to breathe. Many of the most egregious errors in the field stem from a fundamental misunderstanding of these physics, where installers treat PVC (Polyvinyl Chloride) with the same rigid fastening logic they would apply to wood or fiber cement.
To analyze the landscape of installation errors is to examine the intersection of building science and site-specific variables. Factors such as ambient temperature during installation, the orientation of the wall relative to the sun, and the integrity of the underlying weather-resistive barrier (WRB) all play critical roles. This article serves as a comprehensive autopsy of failed trim systems and a roadmap for technical excellence, providing homeowners, contractors, and architects with the insights necessary to differentiate between a “standard” installation and an enduring one.
Common vinyl siding trim mistakes

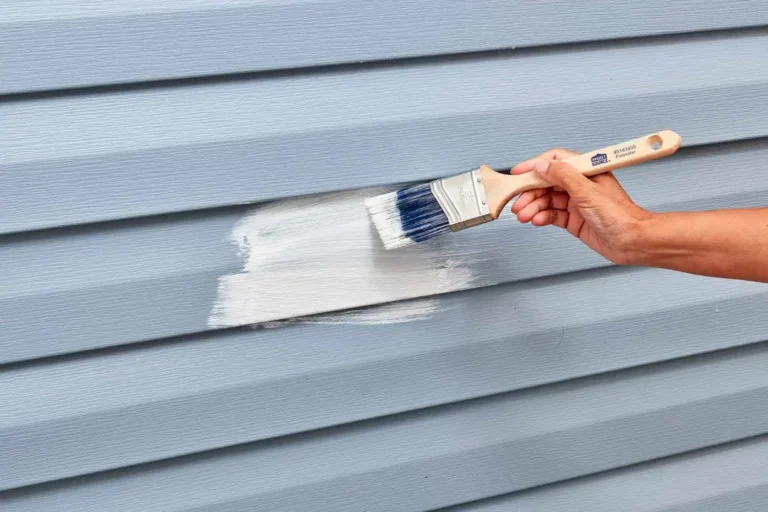
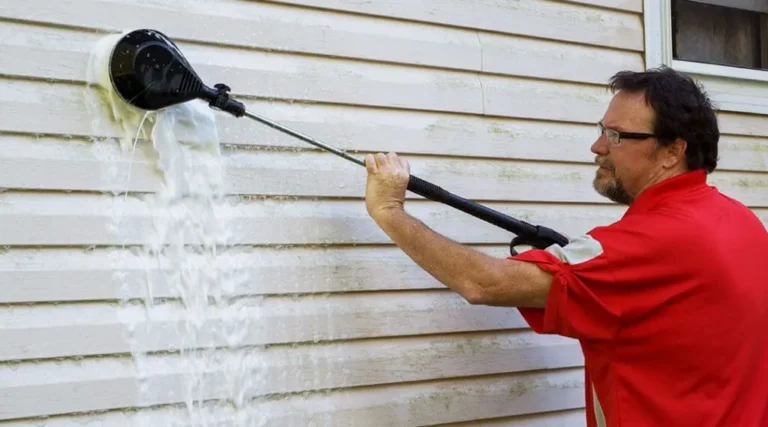
To adequately address common vinyl siding trim mistakes, one must first recognize that trim is the most technically demanding portion of the siding system. Unlike the main panels, which have generous factory-punched slots for fastening, trim components like J-channels, utility trims, and corner posts often require custom field-cutting and complex overlapping. The most frequent errors involve “pinning” these components too tightly, which prevents the natural movement of the siding as it reacts to temperature swings. When trim cannot move, it buckles, creating gaps that allow wind-driven rain to reach the home’s sheathing.
A pervasive misunderstanding in the industry is the belief that trim is primarily decorative. This leads to an oversimplification where installers focus on the “miters” and “clean lines” while neglecting the flashing behind those lines. A trim piece can look visually perfect on the day of installation while being functionally catastrophic. For instance, failing to integrate a “head flashing” or “drip cap” over a window trim is a classic error. Even if the J-channel is installed correctly, without that metal diversion, water will eventually find its way behind the window’s side casings.
Furthermore, the scale of these mistakes is often compounded by the choice of fasteners. Using the wrong nail type, such as a small-headed finish nail, driven through the face of a corner post, is a hallmark of an amateur approach. Professional trim installation is an exercise in “hidden strength,” where every component is secured in a way that remains invisible and mobile. Failure to respect these tolerances leads to “oil-canning” and unsightly gaps that are often incorrectly blamed on the product quality rather than the execution of the trim details.
Deep Contextual Background: The Evolution of Trim Systems
The history of vinyl siding trim is a history of trying to replicate the look of traditional timber while solving for wood’s inherent flaws: rot and the need for frequent painting. In the early days of the industry (the 1960s and 70s), trim options were rudimentary. Most installations relied on basic J-channels that were narrow and thin, leading to a “plastic” look that many architects found objectionable.
As the industry matured, the engineering of the trim became more robust. Manufacturers introduced wide-faced casings, intricate crown moldings, and specialized “soffit-to-wall” transitions. However, this increased aesthetic complexity brought a steeper learning curve. The shift from a simple “wrap and snap” mentality to a system-based approach meant that installers had to become part-time flashing experts. Today, the most resilient trim systems are those that acknowledge the house as a dynamic organism. The systemic evolution has moved toward “water management” rather than “waterproofing,” recognizing that some moisture will always get behind the vinyl, and the trim’s primary job is to provide a path for that moisture to exit.
Conceptual Frameworks and Mental Models

To navigate the intricacies of trim installation, three primary mental models are essential:
1. The Shingle Effect (Gravity-Led Logic)
Every trim component must be installed according to the logic of a shingle. The higher piece must always overlap the lower piece. While this sounds elementary, it is frequently violated at the junction where a vertical J-channel meets a horizontal one. If the horizontal “diverter” is not tucked properly, water is funneled directly into the wall cavity.
2. The Floating Curtain Model
Imagine the house as a body and the siding/trim as a loose-fitting coat. If you “button” the coat too tightly (over-nailing), the person inside cannot move without the fabric tearing or bulging. Trim must be viewed as the hem of that coat; it needs to guide the movement without restricting it.
3. The 1/4-Inch Rule of Life
In the world of vinyl, 1/4 inch is the standard margin of error for expansion. In freezing temperatures, that gap should increase to 3/8 inch. Failing to visualize this gap during the “dry-fit” phase is the root cause of 90% of buckling issues.
Key Categories of Trim Variation and Trade-offs
Choosing the right trim profile involves balancing cost, aesthetic depth, and installation difficulty.
| Trim Type | Primary Function | Installation Difficulty | Major Risk Factor |
| Standard J-Channel | Receives siding ends | Low | Inadequate drainage/weep holes |
| Wide-Face Casing | Mimics wood window trim | Medium | Face-nailing/thermal distortion |
| Inside/Outside Corners | Transitions wall planes | Medium | Improper “hanging” from the top nail |
| F-Channel | Supports soffit panels | Low | Insufficient depth for panel movement |
| Drip Cap | Diverts water over openings | High (Technical) | Improper integration with WRB |
| Finish Trim | Secures the top siding course | Low | Over-tightening of snap-locks |
Realistic Decision Logic
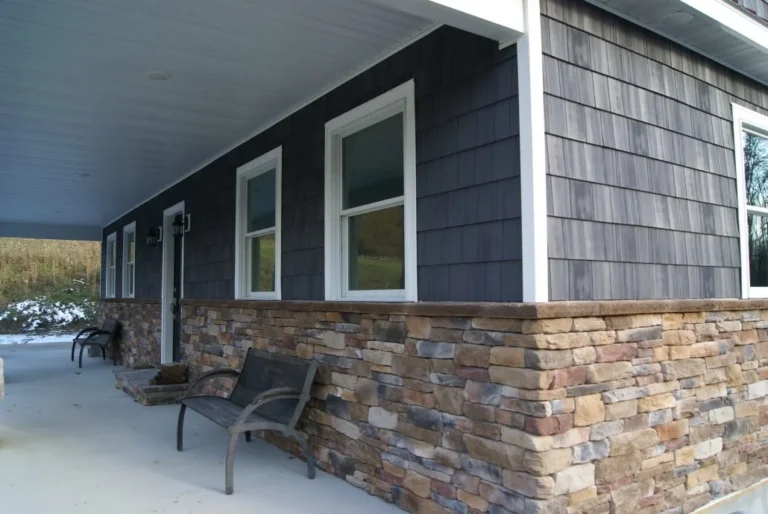
When selecting trim, the decision should be dictated by the “cladding profile.” If using a deep-shadow Dutch-lap siding, a standard 3/4-inch J-channel may be too shallow, causing the siding to “pop out” during high winds. Matching the “pocket depth” of the trim to the “butt height” of the siding is a critical, yet often missed, step in the planning phase.
Detailed Real-World Scenarios
Scenario 1: The “Mitered” J-Channel Failure
An installer miters the corners of J-channels around a window for a clean, picture-frame look.
-
The Error: They fail to cut a “drainage tab” on the header (top) piece.
-
The Result: Water running down the header J-channel hits the miter and, instead of being diverted into the side J-channel, it leaks behind the side trim and onto the window’s framing.
-
Correction: The top piece should have a 1-inch tab folded down into the side channel.
Scenario 2: The Face-Nailed Corner Post
To prevent a corner post from “rattling” in a high-wind zone, an installer drives a color-matched trim nail through the face of the vinyl.
-
The Error: PVC expands nearly 1/2 inch over a 10-foot span.
-
The Result: By mid-summer, the corner post has developed a permanent wave (buckle) because the face-nail has created a “fixed point” that prevents expansion.
-
Correction: Use a “hanging” technique where the top nail is at the top of the slot, and all subsequent nails are centered in the slots.
Planning, Cost, and Resource Dynamics
The cost of trim typically accounts for 15-25% of the total material expenditure, but can represent 40-50% of the labor. This is because trim work is “detail work” that requires constant measuring, cutting, and ladder movement.
| Cost Component | Range (Standard) | Range (Premium) | Notes |
| Material (per LF) | $1.50 – $3.00 | $4.00 – $8.00 | Premium includes wood-grain textures |
| Labor (per LF) | $2.00 – $5.00 | $6.00 – $12.00 | High-altitude/multi-story increases cost |
| Waste Factor | 10% | 15% – 20% | Intricate window patterns increase waste |
Opportunity Cost of Improper Planning
The “direct cost” of a J-channel is negligible. However, the “indirect cost” of replacing a rotted window header due to a trim mistake can be thousands of dollars. Planning must include a “flashing budget” that is separate from the “siding budget.”
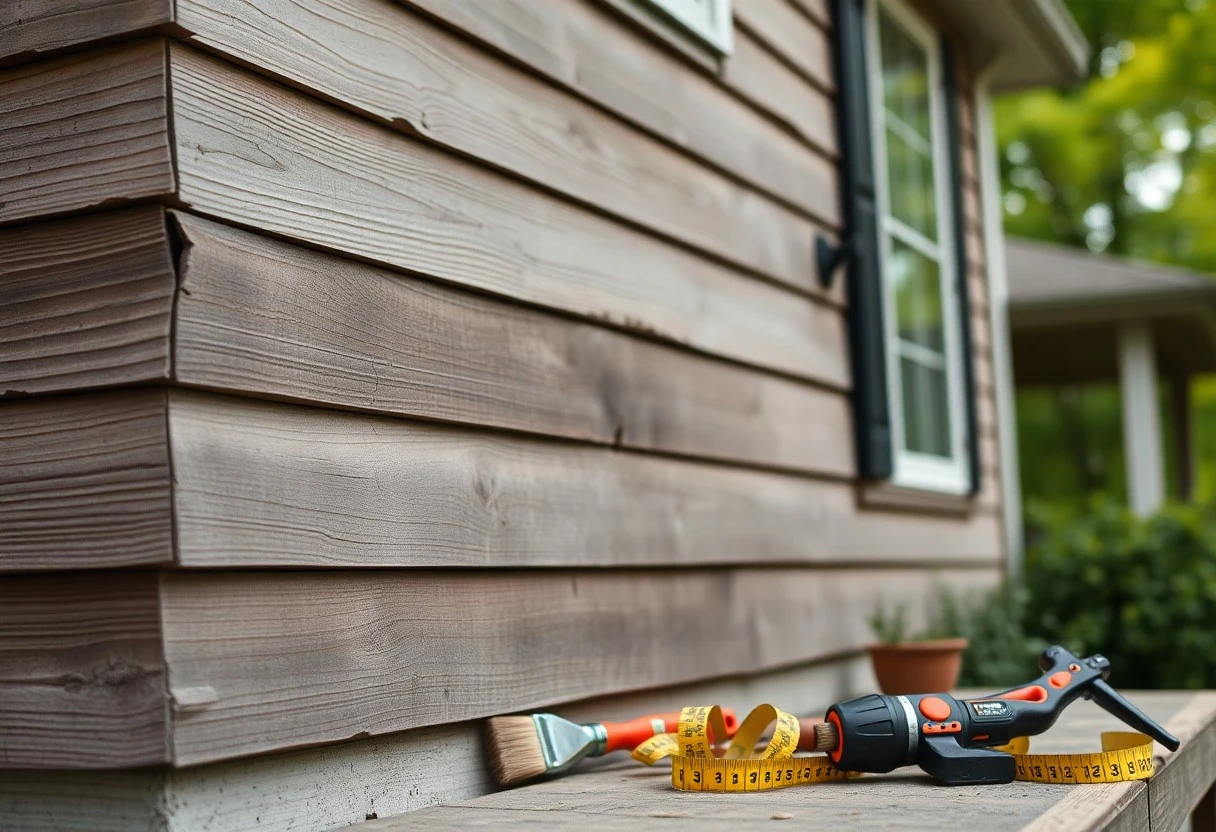
Tools, Strategies, and Support Systems
The right toolset is the first defense against common vinyl siding trim mistakes.
-
Snap-Lock Punch: Essential for securing the top course of siding into the finish trim without using visible nails.
-
Vinyl Snips (Offset): Allows for clean cuts in J-channel without distorting the “U” shape of the pocket.
-
Slot Punch: When a factory slot is cut off during installation, a slot punch allows the installer to create a new, elongated hole for movement.
-
Brake (Aluminum/Steel): While not for the vinyl itself, a brake is used to custom-bend aluminum coil to “cap” wood trim before the vinyl trim is installed.
-
Level and Plumb Bob: Trim must be perfectly vertical/horizontal; if a corner post is “canted,” the siding panels will never seat correctly.
-
Heat Gun (Use with Caution): Occasionally used in cold weather to prevent “shattering” of the PVC during cutting, though this requires high expertise.
Risk Landscape and Failure Modes
Failures in vinyl trim generally follow a taxonomy of compounding risks:
-
Hydraulic Risk: The trim acts as a funnel rather than a shield. This is most common at the “kick-out” flashing where a roof meets a vertical wall.
-
Thermal Risk: The “clash” of materials. When vinyl trim is installed too close to a heat source (like a grill or a dryer vent) or even reflective “Low-E” windows from a neighboring house, the trim can melt or sag.
-
Mechanical Risk: Wind uplift. If J-channels are not secured at the proper intervals (every 8 to 12 inches), high winds can peel the trim away, exposing the vulnerable edges of the siding.
Governance, Maintenance, and Long-Term Adaptation
A “set it and forget it” mentality is a precursor to failure. A proper governance cycle for home exteriors should include:
The Layered Checklist for Inspection
-
Quarterly: Visual check of the “miters” around windows. Are they opening up? This may indicate the house is settling or the trim is shrinking.
-
Annually: Gently tug on corner posts. They should have a slight “wiggle” (roughly 1/16 of an inch). If they are rock-solid, they are over-nailed.
-
Post-Storm: Check for “tucked” siding. Sometimes wind can pull a panel out of the J-channel pocket; it must be re-inserted immediately to prevent water ingress.
Measurement, Tracking, and Evaluation
Evaluating the health of a trim system requires both qualitative and quantitative signals.
-
The Slide Test (Qualitative): A perfectly installed trim piece can be moved slightly by hand. If it is “frozen” to the wall, a failure is imminent.
-
Gap Consistency (Quantitative): Using a feeler gauge, measure the gap between the siding panel end and the J-channel back-wall. If the gap is less than 1/8 inch on a hot day, there is no room for further expansion.
-
Moisture Metering (Advanced): Using a non-invasive moisture meter on the interior drywall under windows can detect trim/flashing leaks long before they become visible stains.
Common Misconceptions and Oversimplifications
-
Myth 1: “Caulking J-channel makes it waterproof.” Correction: Caulking where the siding meets the J-channel is a disaster. It traps water and prevents expansion. J-channel is designed to be “open.”
-
Myth 2: “Stainless steel nails are a waste of money.” Correction: In coastal areas, standard galvanized nails will corrode, causing “rust streaks” to run down your expensive white trim.
-
Myth 3: “You can’t install vinyl in the winter.” Correction: You can, but you must increase your expansion gaps. PVC becomes brittle in the cold, so cuts must be made with extra care.
-
Myth 4: “Vinyl is maintenance-free.” Correction: While it doesn’t need paint, it does need “movement monitoring.” A house that settles can “pinch” trim that was originally installed correctly.
Conclusion
The durability of a vinyl siding system is found in its flexibility, not its rigidity. Avoiding common vinyl siding trim mistakes requires a shift in perspective from seeing trim as a static border to seeing it as a functional, moving joint. The technical mastery of laps, tabs, and “floating” fasteners is what separates a DIY-looking project from a professional architectural statement.
By respecting the thermal properties of PVC and prioritizing the invisible flashing layers over the visible plastic shells, one ensures that the home’s exterior remains both beautiful and watertight. Precision at the margins is the only way to protect the investment in the center.